
Old Glast Heim
Old Glast Heim
Instance for up to 5 adventurers
Glast Heim fell in a single night, and that night never finished happening. Scientist Edward opens a rift into it: you arrive before the castle collapses, watch the entire guard turn into monsters, and go down after Amdarais, what remains of Sir Heinrich's last soldier.
How to enter
- 🔸 Talk to Scientist Edward in Prontera (26, 53).
- 🔸 Choose the Instances category, then Old Glast Heim.
- 🔸 The server's other instances are listed on the Scientist Edward page.
Requirements
- 🔸 At least one completed crossing, or being in the middle of one. Old Glast Heim is content for reborn characters: whoever has never crossed cannot open the rift.
- 🔸 Level 90 or higher.
- 🔸 Party of up to 5 adventurers. You can enter solo, but see the warning about the leader right below.
- 🔸 Costs 3 Abyssalite Fragments, charged only the moment entry happens.
- 🔸 One crossing every 12 hours per character, counted at entry, not at victory. Enter and die in the first corridor, and you lose your turn.
- 🔸 The instance lasts 2 hours and disappears if it stays empty for 15 minutes.
Before entering
Worth reading once before your first crossing. Three things change the outcome a lot:- 🔸 Almost everything is Undead. Of the instance's thirteen creatures, eleven are Undead. The exceptions are the Larva (Insect, Earth) and the Corrupted Soul (Demon, Earth 3). Anyone bringing Holy damage sails through the whole crossing comfortably, and that includes the final boss.
- 🔸 Against Amdarais, only Holy or Neutral. He's Undead level 4: Holy attacks hit for 175%, Neutral and Ghost hit for 100%, and Fire, Water, Earth and Wind drop to 25%. Shadow and Undead do nothing to him, and Poison actually heals him. Bringing fire arrows to the final boss throws three quarters of your damage away.
- 🔸 Their normal attack comes out Neutral. Elemental armor doesn't help against common damage: only elemental skills respect element. Neutral resistance is what holds up against the beating here.
- 🔸 Only the party leader can talk. Altar Boy Domun and Holgren, who unlock the second and third wing, ignore anyone who isn't the leader. Set the leader before entering, and preferably someone who isn't going to die.
| Creature | HP | Attack | Race | Element | Size |
|---|---|---|---|---|---|
| Larva | 14.000 | 1.400 to 2.600 | Insect | Earth 2 | Small |
| Corrupted Monk | 18.000 | 1.700 to 3.200 | Undead | Undead 4 | Large |
| Corrupted Butler | 20.000 | 1.800 to 3.400 | Undead | Undead 1 | Medium |
| Agonizing Chamberlain | 22.000 | 1.900 to 3.600 | Undead | Undead 2 | Medium |
| Wandering Archer | 24.000 | 3.000 to 5.200 | Undead | Shadow 2 | Medium |
| Corrupted Guard | 28.000 | 2.600 to 4.800 | Undead | Shadow 2 | Medium |
| Abyssal Knight | 114.000 | 6.000 to 9.600 | Undead | Shadow 4 | Large |
| Suffering Khalitzburg | 126.000 | 5.600 to 8.800 | Undead | Undead 1 | Large |
| Bloody Knight | 136.000 | 6.400 to 10.400 | Undead | Shadow 4 | Large |
| Commanders of Ruin | 600.000 | 10.000 to 15.000 | Undead | Undead 2 | Medium |
| Corrupted Soul | 900.000 | 15.000 to 22.000 | Demon | Earth 3 | Large |
| Amdarais | 5.000.000 | 18.000 to 26.000 | Undead | Undead 4 | Large |
The path, step by step
The crossing is linear: each stage unlocks the next, and none of them can be skipped. The whole path takes the party from the entrance courtyard to the second floor and then back to the first, where the treasure is.1. Knights' Courtyard
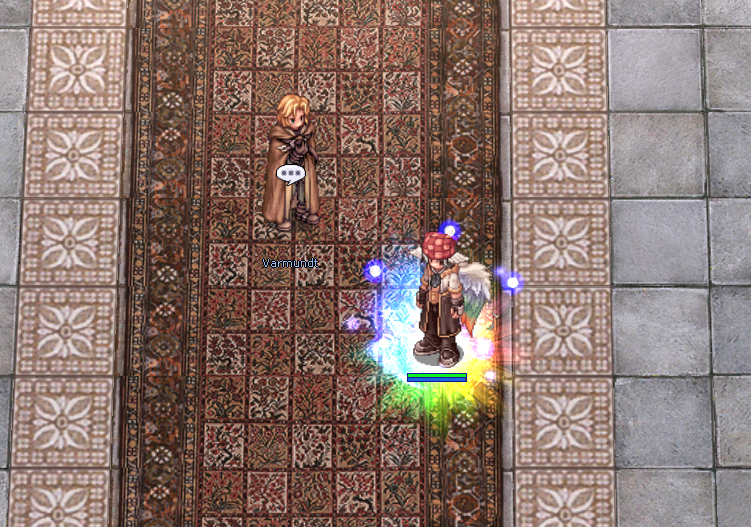
Varmundt and Sir Heinrich, at the castle entrance
Objective: Open the portal to the west.
You arrive in the courtyard, and there's nothing to kill here. Varmundt and Sir Heinrich argue about the invasion until Himelmez appears and turns the entire castle guard into monsters. It's the only part of the crossing where you just watch.
2. West Wing
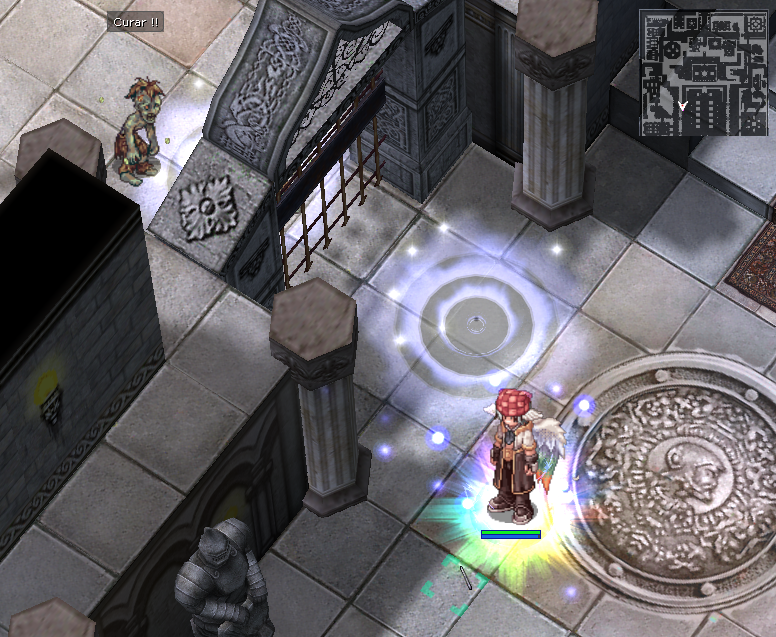
The west corridor, overrun by the corrupted
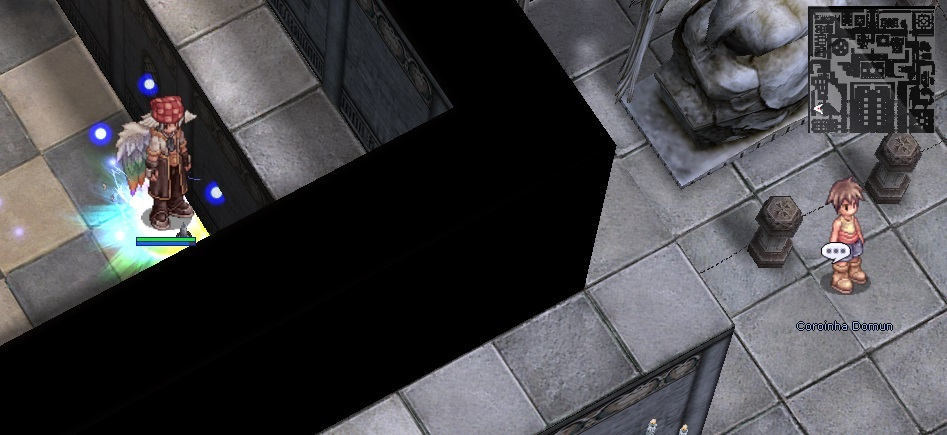
Altar Boy Domun, huddled at the west end of the wing
Objective: Kill 36 of the 51 and talk to Altar Boy Domun.
The first clear. There are 51 monsters: 17 Corrupted Butlers, 17 Corrupted Monks and 17 Agonizing Chamberlains, all between 18.000 and 22.000 HP. Once you reach 36 kills the map announces that the curse has weakened, the rest die on their own, and Altar Boy Domun appears hidden at the west end of the wing.
Only the leader can resolve it. Domun ignores anyone who isn't the party leader. To everyone else, he just repeats "save me, save me". If the leader died and went back to town, nobody can open the next wing.
3. East Wing
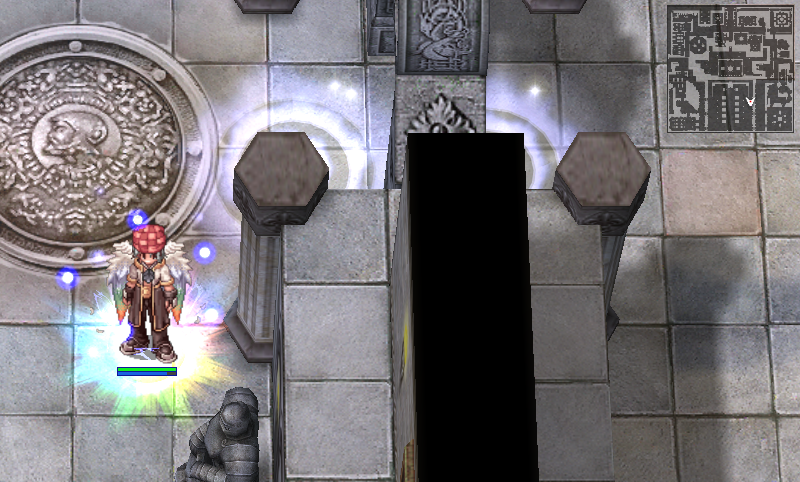
The emblem hall, on the way to the forge
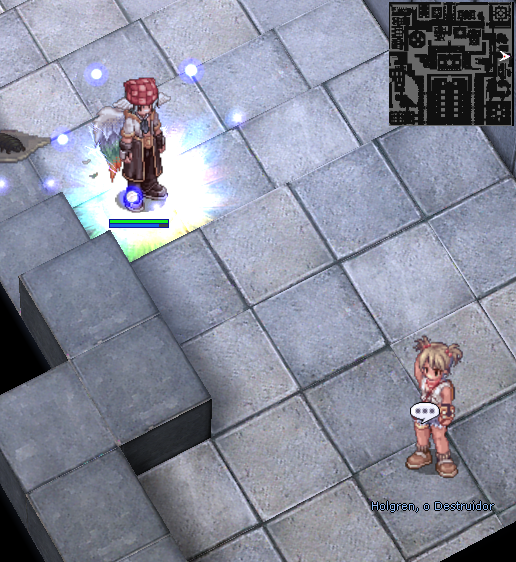
Holgren the Destroyer, at the end of the wing
Objective: Kill 57 of the 69 and talk to Holgren.
The forge wing, and the largest of the three: 69 monsters, 35 Agonizing Chamberlains and 34 Corrupted Butlers. At 57 kills the rest disappear and Holgren the Destroyer appears at the east end.
The bodies on the ground are a trap. There are 26 Restless Corpses scattered across the wing. Stepping on one wakes 3 to 7 Larvae on top of you. They're weak (14.000 HP) but come in droves and are Insect race, Earth element, which makes them the only thing in the whole instance that isn't Undead. Running straight through the wing usually wakes three or four nests at once.
4. Northwest Wing
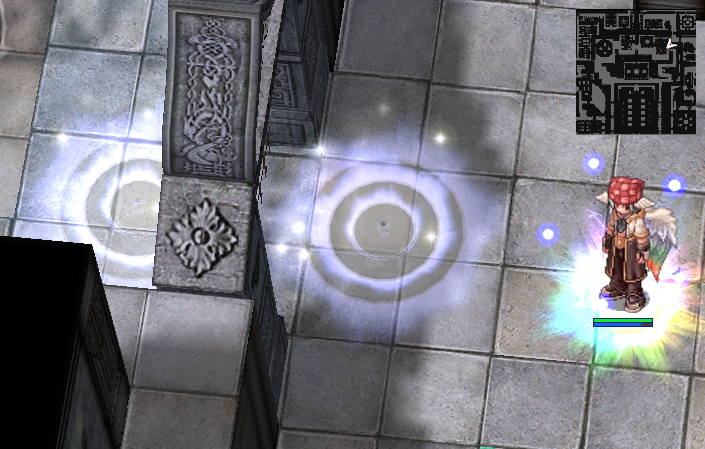
The northwest corridor, on the way to the north hall
Objective: Kill 86 of the 100.
Here the instance changes tone. There are 100 monsters, 50 Corrupted Guards and 50 Wandering Archers, and they're the first that actually hit back: they deal 1.300 to 2.600 and the Archer hits from range. At 86 kills Himelmez speaks and calls you to the north of the castle.
Pull in small groups. Guard and Archer are Shadow level 2 and aggressive. Pulling an entire corridor of Wandering Archers is the most common death in this stage, because they don't need to get close.
5. Corrupted Soul's Hall
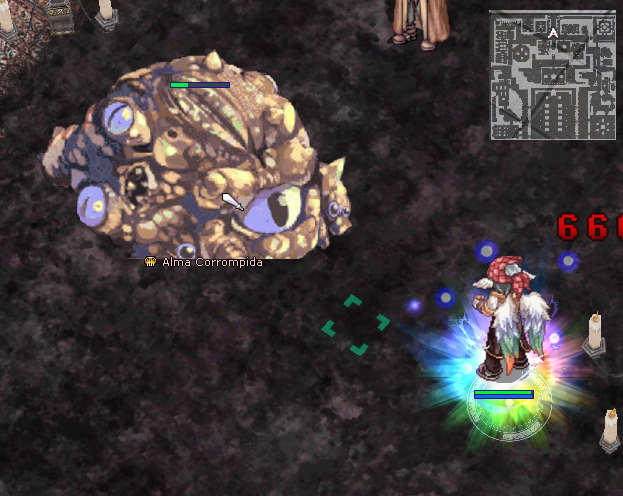
The Corrupted Soul, boss of the first floor
Objective: Take down the Corrupted Soul and talk to Varmundt.
First boss. 900.000 HP, hits of 15.000 to 22.000, Demon race, Earth element level 3, the only boss in the instance that isn't Undead. Once she's dead, go back and talk to Varmundt, who stayed in the hall: he's the one who collects the spoils and hands over the first Contaminated Magic, plus 20.000.000 base experience and 8.000.000 job, before the crossing penalty. The stairs to the second floor open right after.
Her casts don't break from damage. Earthquake and Infernal Judgment go off even while taking hits. That's intentional: interrupting through damage would make the fight trivial. The way out is getting out of range, not hitting harder.
6. Second Floor
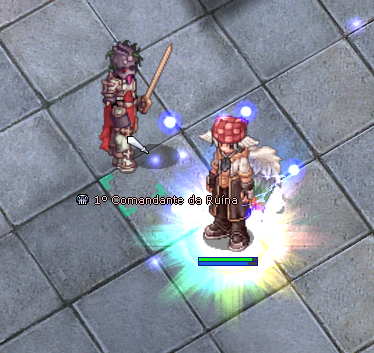
The 1st Commander of Ruin, in the west wing of the second floor
Objective: Kill elites until both Commanders appear.
The upper floor has no kill counter, and that's where most parties get lost trying to clear the map. There are seven triggers scattered across the wing: stepping on one summons five elites at once (Guard, Archer, Abyssal Knight, Suffering Khalitzburg and Bloody Knight) and the trigger rearms in 30 seconds. There's no clearing it: there's killing until a Commander of Ruin appears, which happens on average every 50 kills, at one of four fixed spots in the wing.
The 1st Commander opens the east wing, where everything repeats until the 2nd Commander. Each one has 600.000 HP, hits for 10.000 to 15.000 and grants 1 Contaminated Magic to the party. Once the second one is down, the final corridor to the north opens.
Stay near a trigger, don't run around the map. Since the trigger rearms on its own every 30 seconds, the efficient way is to plant the party on top of one and let the waves come. Chasing monsters across the whole floor just piles up elites on your back: they're 114.000 to 136.000 HP each and hit up to 5.200.
7. Amdarais's Hall
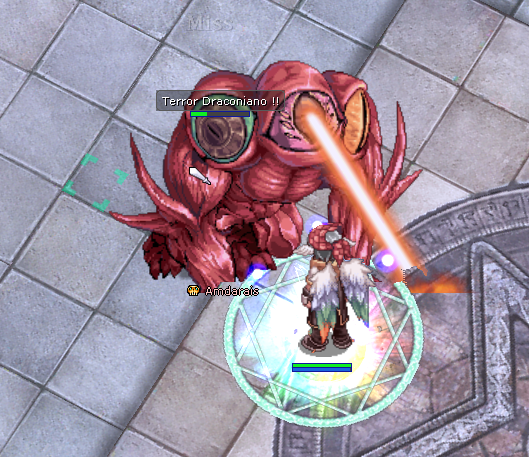
Amdarais, the final boss, casting Draconic Terror
Objective: Take down Amdarais without letting the servants pile up.
The north corridor hides Himelmez's ambush, and the final boss comes right after. 5.000.000 HP, hits of 18.000 to 26.000, Undead level 4. The fight is split into 10% health bands: at each band the map announces his health, a wave of six elites spawns around him, and a Ghost of Varmundt appears in one of the hall's four corners with a different blessing. The table right below shows exactly what happens at each band.
The summons don't disappear on their own. This is the difference that decides the fight. Each wave of six stays in the hall. Once 15 servants are alive at the same time, Amdarais drains his own servants and recovers 1% health every 30 seconds. From that point on, a party that only hits the boss never closes out the fight. Leave at least one person handling the waves.
8. Treasure Room
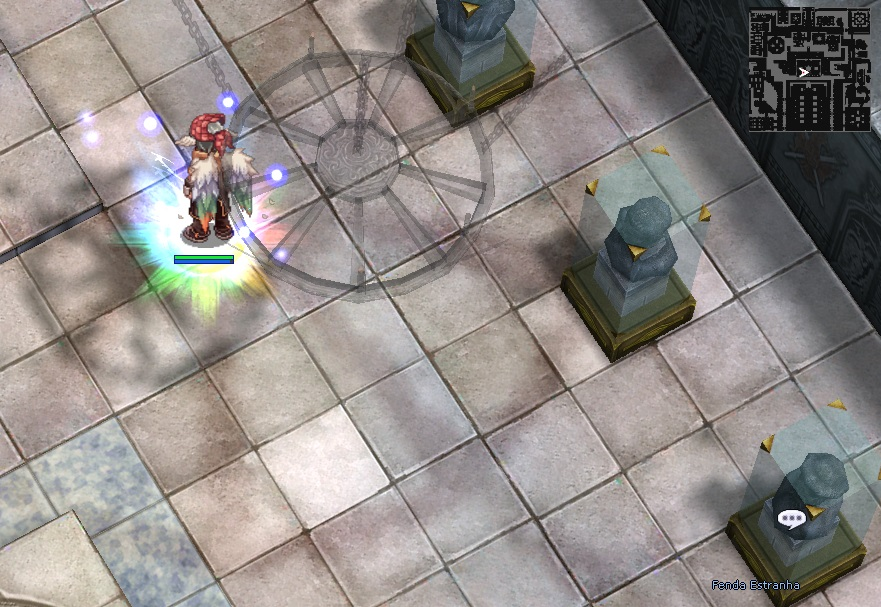
The Strange Rifts, each on its own pedestal
Objective: Talk to Hugin and go down the stairs, which lead straight to the treasure.
Once the boss falls, Hugin and the Mana Guardian appear next to the body. Talking to Hugin closes out the hunt and pays 30.000.000 base experience and 24.000.000 job, before the crossing penalty. It's this conversation that unlocks the rifts.
The room isn't in the boss hall, but with Amdarais dead the stairs make a shortcut: go down through the second floor's portal and it leads straight to the corridor with the seven Strange Rifts, each on its own pedestal. If you prefer the long way, the rift in the northeast corner of the first floor leads to the same place. This is where the crossing's zeny comes from.
Hugin warns you, but double-check anyway. If you ask him to take you out with something still pending, he lists what got left behind and asks for confirmation before opening the exit: Varmundt's spoils not collected, rifts still closed, and a trade with the Guardian still possible. If nothing's left, he leaves without any fuss. The warning doesn't cover the instance's 2 hour limit, so don't leave the treasure for last.
Amdarais, phase by phase
Every 10% of health lost, the map announces the boss's health, a Ghost of Varmundt appears in one of the hall's four corners and, in most bands, a wave of servants spawns. The ghost stays there for 10 seconds. Whoever gets close to it in those 10 seconds gets the blessing, which lasts 30 seconds. Whoever doesn't, doesn't get it. The cycle repeats every 30 seconds: as long as the boss stays in the same band, that band's wave spawns again.| Health | Ghost's blessing | What it does | Wave of servants |
|---|---|---|---|
| 90% | Stat blessing | +20 to all stats | none |
| 80% | Healing blessing | +100% cast healing, +50% healing received, +20.000 HP and +1.000 SP | 6 Suffering Khalitzburg |
| 70% | Healing blessing | same as above | 6 Abyssal Knight |
| 60% | Healing blessing | same as above | 6 Bloody Knight |
| 50% | Stat blessing | +20 to all stats | none |
| 40% | Healing blessing | same as above | 6 Wandering Archer |
| 30% | Healing + concealment blessing | same as above, plus the concealment | 6 Bloody Knight |
| 20% | Healing + concealment blessing | same as above, plus the concealment | 6 Abyssal Knight |
| 10% | Shield + concealment blessing | zeroes Amdarais's damage, +200 DEF and +50 MDEF | 6 Wandering Archer |
| below 10% | same as above | same as above | 6 Wandering Archer |
- 🔸 The 10% shield blessing zeroes Amdarais's damage for 30 seconds. It's the window to close out the fight, and it's worth saving your healing and strong skills for it.
- 🔸 Starting at 30%, the concealment blessing joins in, from a second ghost: it cuts 90% of the damage from the Flames of Destruction, the fires that spawn across the second floor when the 2nd Commander falls. It doesn't reduce anything Amdarais himself does.
- 🔸 The waves add up to at least 48 servants over the course of the fight, all elites with 114.000 to 136.000 HP. The goal isn't to kill them all: it's to avoid reaching 15 alive at once, which is when he starts healing.
Rewards
Everything handed out by script goes to every member present, it doesn't drop on the ground to be fought over. What drops on the ground is the monsters' normal drops and the contents of the rifts.| What | How much | Where from |
|---|---|---|
| Zeny | 640.000 to 1.140.000 | selling the gems and bars from the rifts |
 Blessed Extract Blessed Extract | 11 to 25 | rifts, Corrupted Soul and Amdarais |
 Golden Mystic Granule Golden Mystic Granule | about 11 | monsters, bosses and rifts |
 Contaminated Magic Contaminated Magic | 6 to 8 | Varmundt, both Commanders, Amdarais and the rifts |
 Golden Mystic Fragment Golden Mystic Fragment | rare, about 1 every 6 crossings | 2% per rift and 4% from Amdarais |
| Experience | 20.000.000 at the midpoint and 30.000.000 at the end, before the penalty | Varmundt and Hugin |
Experience and the penalty
The numbers in the table are raw. All the experience you earn during a crossing goes through the rebirth penalty before it enters your bar, and that's why the values here are so high: what's left depends on how many crossings you've already done.| Your situation | You keep | Reaches the bar |
|---|---|---|
| 1st crossing | 50% | 20.000.000 |
| 2nd crossing | 30% | 24.000.000 |
| 3rd crossing | 10% | 4.000.000 |
| 4th crossing | 10% | 4.000.000 |
Each rift's loot
| Rift | Gem (1 to 4) | Bar | Quantity |
|---|---|---|---|
| 1st |  Amethyst Amethyst |  Silver Bar Silver Bar | 3 to 5 |
| 2nd |  Aquamarine Aquamarine | Silver Bar | 3 to 5 |
| 3rd |  Emerald Emerald |  Platinum Bar Platinum Bar | 1 to 2 |
| 4th |  Pearl Pearl |  Gold Bar Gold Bar | 2 to 4 |
| 5th |  Sardonyx Sardonyx | Gold Bar | 2 to 4 |
| 6th |  Sapphire Sapphire | Silver Bar | 3 to 5 |
| 7th |  Opal Opal | Platinum Bar | 1 |
| Item | Chance | Quantity |
|---|---|---|
| Blessed Extract | always | 1 to 3 |
| Golden Mystic Granule | 25% | 1 to 2 |
| Contaminated Magic | 15% | 1 |
| Golden Mystic Fragment | 2% | 1 |
Contaminated Magic
The instance's currency, and it only exists inside it. No regular monster drops it, not even the elites that respawn on the second floor: you can't farm Magic by looping trash kills.
| Source | How much | Note |
|---|---|---|
| Varmundt | 1 | when talking to him after the Corrupted Soul |
| 1st Commander of Ruin | 1 | on death, one per crossing |
| 2nd Commander of Ruin | 1 | on death, one per crossing |
| Amdarais | 1 per member, plus 2 on the ground | on death |
| Treasure rifts | 0 to 7 | 15% per rift, drops on the ground with a golden glow |
Other Amdarais finds
Besides the cards, his body drops:| Item | Chance | Note |
|---|---|---|
| Chivalry Emblem | always | 1 per crossing |
| Old Purple Box | always | also drops from the Corrupted Soul |
| Yggdrasil Berry | always | |
| Old Card Album | 10% | two chances per crossing |
| Guide of Death [2] | 1% | two-handed sword, made for the Knight line |
The Guide of Death
The two-handed sword that Amdarais drops. 200 attack, 2 slots, weapon level 4, requires level 70 and only works for Transcendent classes of the Swordman line. The Crusader can equip it, but all of its bonus is for the Knight.- 🔸 STR +5, AGI +2 and Perfect Dodge +20.
- 🔸 Attack +10%.
- 🔸 Tyr's Impact damage +20%.
- 🔸 Damage against Boss class monsters +10%.
- 🔸 Refined to +9 or higher, Tyr's Impact gains another 10%.
Cards
The four monster cards drop at 0.02%, as a normal drop: Chewing Gum, drop potions, VIP bonus and guild bonus all count toward it. The two trade cards don't drop from anyone, they can only be obtained from the Guardian.| Card | Slot | How to get | Effect |
|---|---|---|---|
 White Knight Card White Knight Card | Weapon | 150 Dark Mana at the Mana Guardian | Attack +15%, damage against Medium and Large +25%, and the same against magic damage |
 Khalitzburg Knight Card Khalitzburg Knight Card | Shield | 150 Dark Mana at the Mana Guardian | Defense +5, reduces damage from Medium and Large by 30%, applies to both physical and magic damage |
 Abysmal Knight Card Abysmal Knight Card | Armor | 1st Ruin Commander, 0.02% | STR +3, attack +7%, attack speed +3%, ignores 15% of Boss defense. Refined to +9 or higher, gains +3% overall damage and +7% against Bosses |
 Abysmal Knight Card Abysmal Knight Card | Garment | 2nd Ruin Commander, 0.02% | INT +3, magic attack +7%, after-cast delay 10% shorter, ignores 15% of Boss magic defense. Refined to +9 or higher, gains +3% overall damage and +7% against Bosses |
 Corruption Root Card Corruption Root Card | Accessory | Corrupted Soul, 0.02% | Attack +40 and 20% chance to cast an area Stone, Sleep and Curse on every attack, of any type |
 Amdarais Card Amdarais Card | Armor | Amdarais, 0.02% | Damage +15% against everything and magic attack +15%, at the cost of 666 HP every 15 seconds and 6,666 HP on unequip |
The five mistakes that cost you the crossing
- 🔸 Entering without picking a leader. Domun and Holgren only talk to him, and without both the instance gets stuck on the second wing.
- 🔸 Running straight through the East Wing. There are 26 Larva nests on the ground, and three nests waking up at once means people dying.
- 🔸 Trying to clear the second floor. The triggers reset every 30 seconds, it's endless. Park the party on one trigger and wait for the Commander.
- 🔸 Ignoring Amdarais's minions. Once 15 are alive, he heals, and the fight never ends.
- 🔸 Leaving the treasure for the last of the 2 hours. Hugin warns you if you try to leave with the rift still closed, but the instance's timer doesn't warn you about anything: it just closes.
See Also
- Maya's Lair, an instance for 2 to 5 adventurers in the Anthill
- Temporal Dungeons, the same Scientist Edward opens the temporal dungeons
- Abyssalite, the currency charged at the entrance